A Complete Guide to SIM Only Deals in the UK and Comparison of SIM Only Deals in the UK

How to Tie a Tie: Step-by-Step Guide for Different Knot Styles
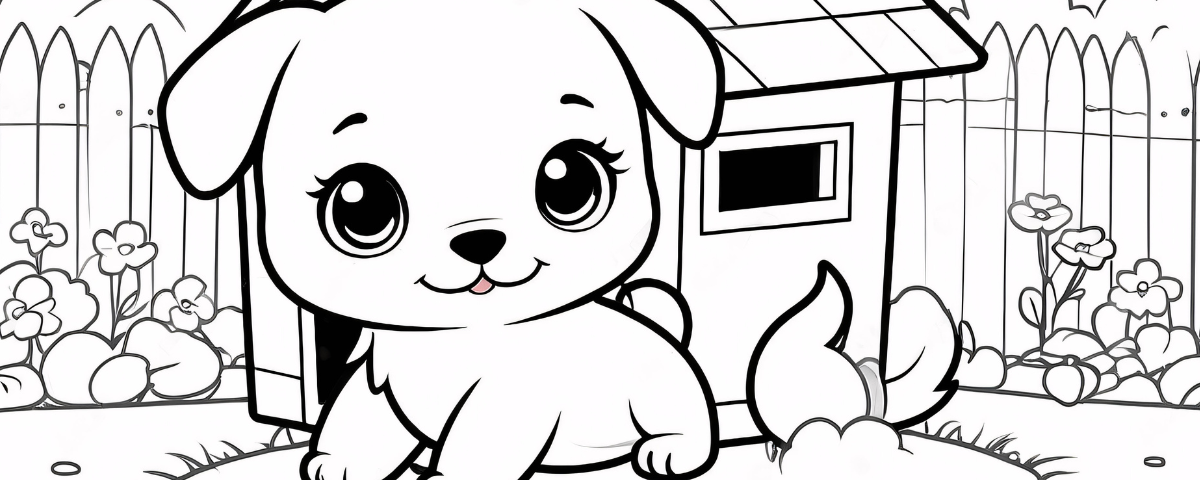
How to Draw a Dog: Step-by-Step Guide for Beginners
Introduction | Materials Needed | Step 1: Start with Basic Shapes | Step 2: Draw the Outline | Step 3: Add Facial Details | Step 4: Sketch the Body | Step 5: Add Fur Texture and Finalize | Tips for a Realistic Dog Drawing
Introduction
Drawing a dog can seem challenging, but with a step-by-step approach, even beginners can create a realistic and lovable dog drawing. This guide breaks down each stage of the process, from creating basic shapes to adding details like eyes, fur, and shading for a lifelike effect. So grab your pencil, and let’s get started!
Materials Needed
- Pencil (HB or 2B recommended)
- Eraser
- Paper
- Blending stump or cotton swab (optional)
- Reference photo (for accuracy)
Step 1: Start with Basic Shapes
Begin by drawing the basic shapes that make up the dog’s body and head. Use light pencil strokes so you can easily make adjustments:
- Head: Draw a circle for the head, as it will serve as a guideline for the face.
- Body: Draw an oval or rectangle shape underneath the head circle, proportionate to the dog’s size.
- Legs and Tail: Use simple lines or small ovals to outline where the legs and tail will go.
This initial sketch will help you understand the proportions and placement of different parts.
Step 2: Draw the Outline
Next, start refining the shape by adding an outline around your basic shapes:
- Head and Ears: Add the ears by drawing two triangular or floppy shapes on top of the head circle.
- Neck: Connect the head to the body with two lines to form the neck.
- Legs and Tail: Outline the legs, adding thickness to create a realistic structure. Draw the tail with a curve to give it natural movement.
At this stage, your dog should start to take form with an outlined structure.
Step 3: Add Facial Details
The face is the focal point, so take your time with the details:
- Eyes: Draw two almond-shaped eyes on the head circle. Add small circles inside for pupils, and leave a tiny white spot in each eye to show light reflection.
- Nose: Place an oval or triangle at the bottom of the head circle for the nose. Add nostrils and shading to give it depth.
- Mouth: Draw a short line under the nose and a curved line to create the mouth shape. You can add a small line to indicate the tongue if desired.
These details bring expression to your drawing, making the dog look lively and realistic.
Step 4: Sketch the Body
Now, flesh out the body structure by adding curves and more defined lines:
- Legs: Add rounded paws and further refine the legs with muscle details or folds if your reference shows them.
- Tail: Thicken the tail slightly and give it a gentle curve for a natural look.
- Back and Chest: Add slight curves to indicate the back, chest, and shoulder muscles. This gives the dog’s body a more 3D appearance.
At this point, your dog’s structure should look complete, and you’re ready to add final details.
Step 5: Add Fur Texture and Finalize
To make the drawing more realistic, add fur texture and shading:
- Fur: Use short, light pencil strokes to create fur. Add more strokes in areas where the fur would be thicker, like around the neck and chest.
- Shading: Lightly shade around the eyes, under the ears, and along the legs to give the drawing depth.
- Blending: Use a blending stump or cotton swab to soften areas for a smooth look. Avoid over-blending to keep some texture.
Once you’re satisfied with the details, go over your drawing with a darker pencil or pen to finalize the lines. Erase any guidelines for a clean, polished look.
Tips for a Realistic Dog Drawing
- Use Reference Photos: Working from a reference helps ensure accurate proportions and realistic details.
- Focus on the Eyes: The eyes add life to your drawing, so make sure they’re expressive with highlights and shading.
- Take Your Time: Don’t rush the details. Adding texture and shading in layers will make the drawing look more realistic.
- Experiment with Different Poses: Practice drawing dogs in various positions (sitting, standing, lying down) to improve your skills and confidence.


Conclusion
Drawing a dog is rewarding and a fun way to improve your sketching skills. With practice and patience, you can create a realistic and expressive dog drawing. Remember to start with basic shapes, add details gradually, and focus on key areas like the eyes and fur. Happy drawing!


